
Apply New Car Fonts

Apply new car fonts
You have just washed and waxed your car. It sparkles in the sun and looks as sweet as when you bought it. Sitting next to you is a new plastic letter you made for your car. You are ready to wear it. Otherwise… I forgot to customize what I told you to do. Don’t be afraid, we will get through the difficulties with you.
As you know, new text and graphics are created on a computer and cut by plotters designed specifically for these tasks. If you find small plastic residues on the edge of the letters, carefully cut them with scissors or sharp art knife. Make sure that the area to be coated is completely dry and free of dirt or residue to prevent sticking together. Once the suitcase containing letters and pictures is opened, it cannot be moved, so please plan the location and prepare before touching the things to be applied for.
Once you are ready to start, sit in the chair next to the vehicle in the best comfortable position. This stabilizes graphics and letters. Stick the whole piece of paper on the car, but don’t pick up the backrest. Make all measurements, center them from top to bottom and from left to right, and then fix the entire object at the top and bottom with shielding tape.
You can now remove the loading plate. To do this, tape the plastic image onto the car, and then cut off the back with a small part when walking. When half of the plastic resin leaves the lining, place it where you want to use the pattern. Pull off the adhesive tape and observe that the plastic is attached to the vehicle. Don’t pull it so tight that you can remove the shielding tape. Erase the image onto the vehicle with smooth flat edges, starting from the center. Do not miss all areas in the drawing.
Once this half is applied, follow the instructions from the bottom half to the end. If the whole image is applied to the vehicle, please rub the whole image again, apply more pressure, eliminate foam, and ensure everything is normal. Then, starting from a corner, peel off the tape at an angle and carefully peel off the tape. Slow down, slow down. Cover the last image with extra suitcase paper. This can be provided with your picture.
These instructions do not only apply to custom graphics and text that you specifically order. In addition, it is applicable to all pre packaged products purchased in local stores. It’s better to do it slowly and accurately. Because you can’t take the plastic off and start again. Please ensure that you have enough time to devote to the project. When you are finished, your vehicle will have a beautiful new look.
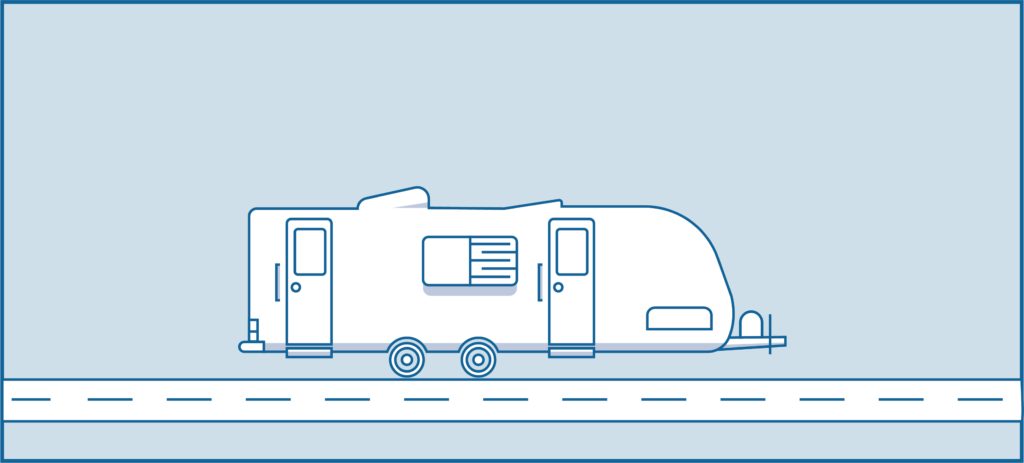 Track Trailer – Important Things To Remember
 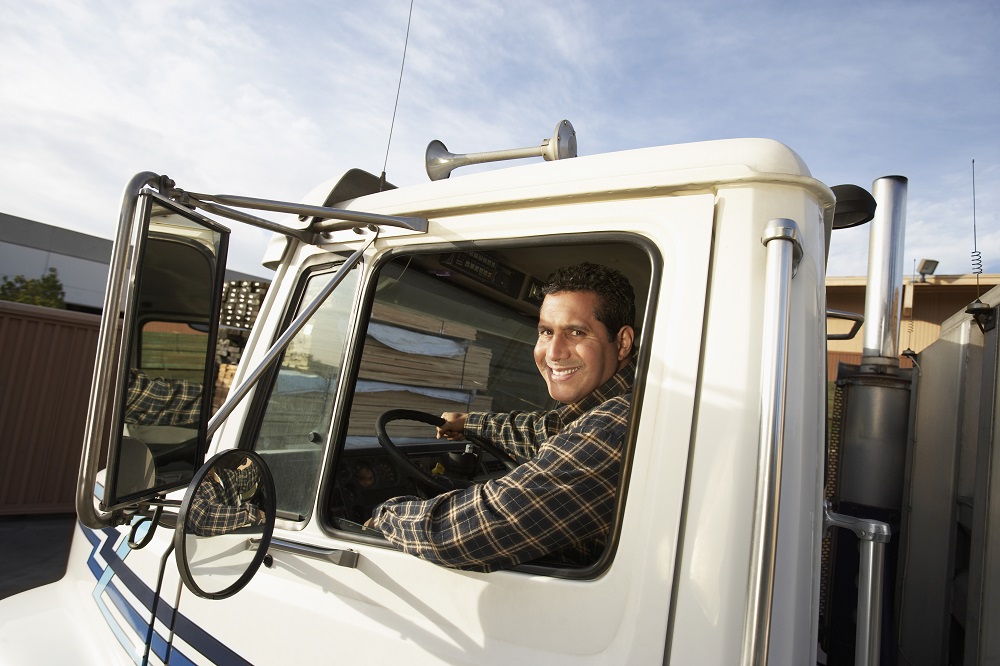 What Truck Drivers Want Other Drivers To Know
 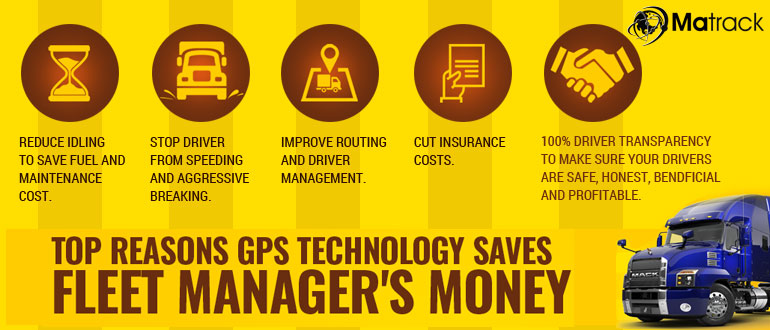 The Main Reasons For GPS Technology To Save Costs For Vehicle Managers
  Four Ways For Truck Drivers To Lose Weight
 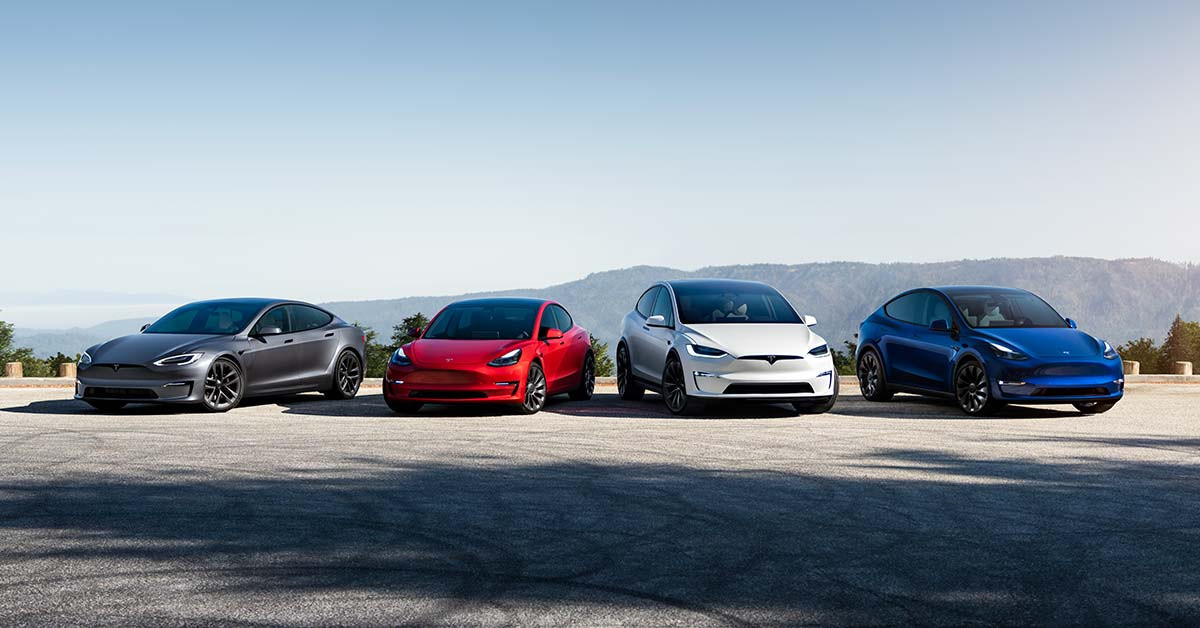 All Tesla
 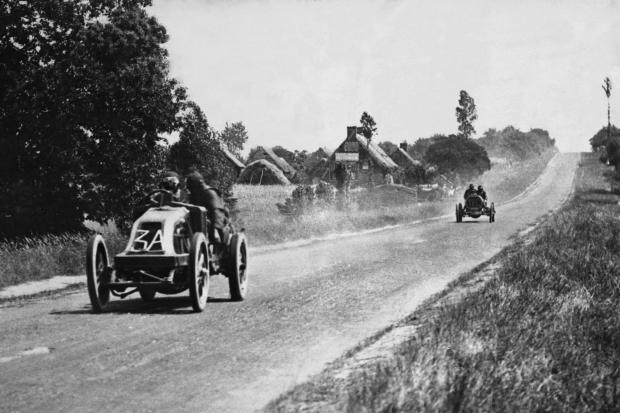 Historic Racing Conflicts Have Revolutionized Car Safety.
 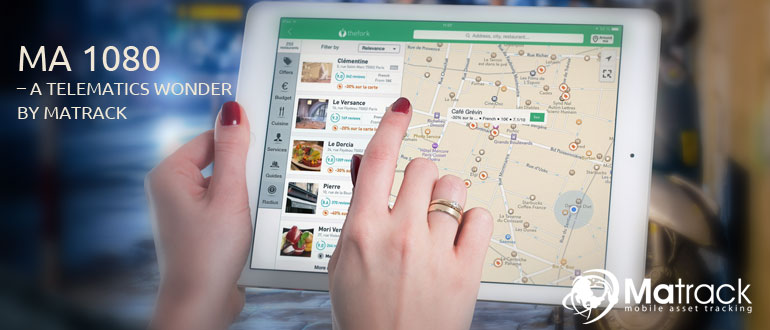 MA 1080 – Matrack’s Telematics Miracle
 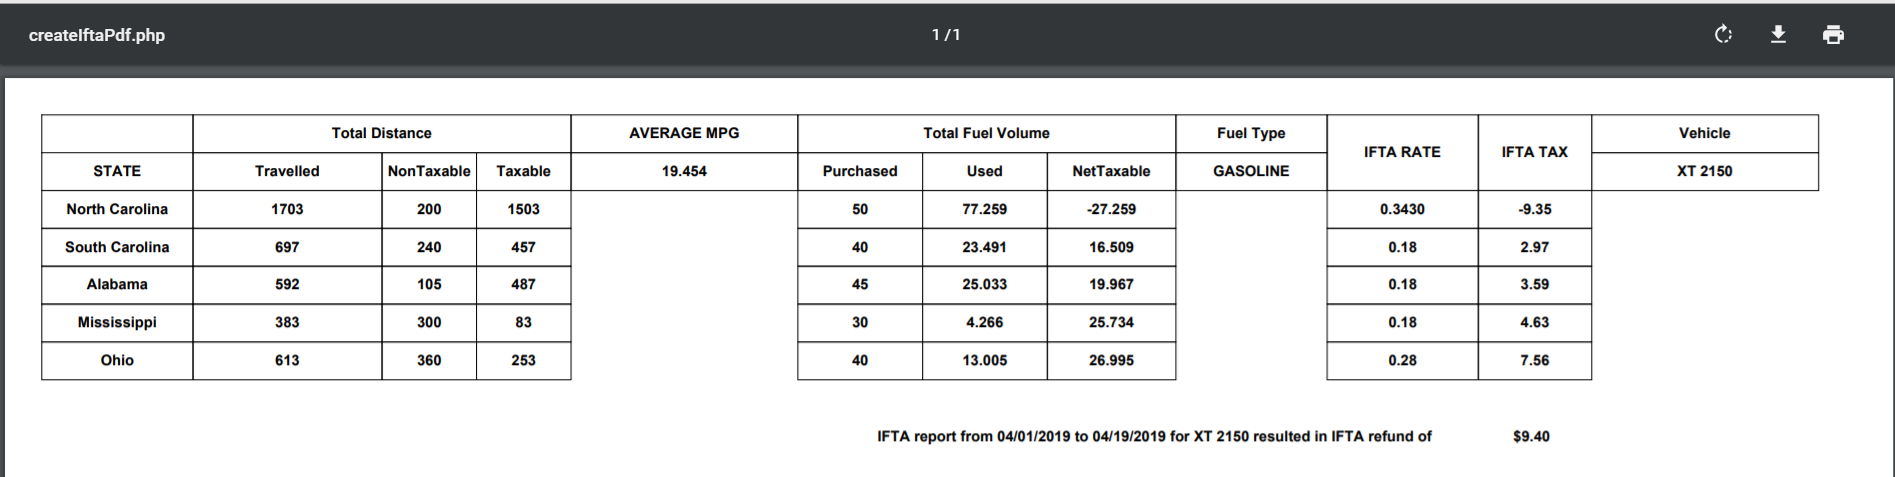 Calculate IFTA Through ELD And Team Management